SmartArt 图形和样式(二)
译者:hxhgxy 来源:http://blogs.msdn.com/excel
发表于:2006年7月7日
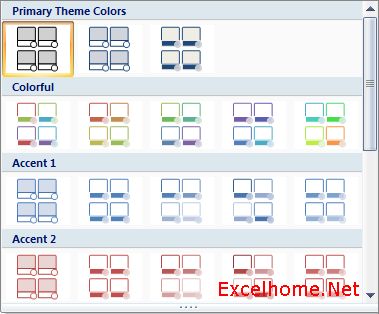
The second gallery provides a range of different color options that can be selected for a SmartArt Graphic, each one applying one or more theme color in a different way to the graphic.
第二个图库提供许多不同的可以为SmartArt选择的颜色选项,每个选项按不同的方式应用一个或者多个主题颜色到该图形。
And here’s that same SmartArt Graphic with a few color variations applied:
这里是应用一些不同颜色的相同SmartArt图形:
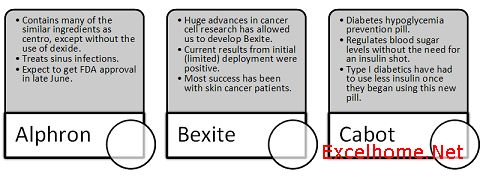
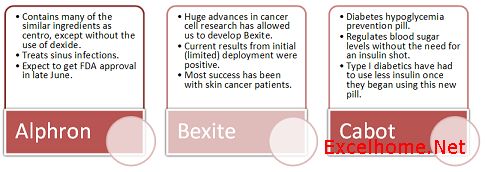
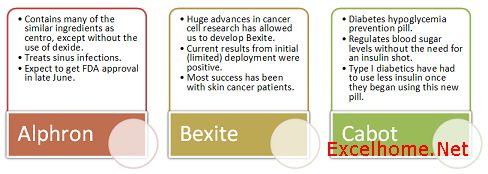
The goal of each of these galleries, combining a SmartArt Graphic with an array of styles and color variations, is to allow you to create a unique visual.
每种图库结合SmartArt图形一系列不同的样式和颜色变化的目的是让你创建独特的视觉效果。

But, if the built in galleries are not enough to give you the look you want, almost all elements of a SmartArt Graphic are customizable.
但是,如果内置的图库不够提供你想要的外观的话,几乎所有SmartArt图形的成员都是可自定义的。
SmartArt Graphics are built on the same foundation as regular shapes in Excel. Therefore, if you do not like the automatic text sizing, you can override it by manually applying a different font size. If the quick style gallery does not have the right combination of fills, lines, and effects then you can apply an individual shape style or fully customize the shape yourself. If the size and position of a shape on the worksheet is not the way you want it, then you can just move the shape around or resize it. The formatting tab within “SmartArt Tools” provides an entry point to many of these customizations:
SmartArt图形和普通的Excel图形是创建在同一个基础上的。因此,如果你不喜欢自动文本字体大小的话,那么你可以通过手动设置不同的字体来克服它。如果该快捷图库没有正确的结合填充,线条和效果,那么你自己可以设置自己的图形样式,或者完全自定义该图形。如果该工作表上图形的大小和位置不遂你意的话,你也可以随便移动图形或者改变其大小。“SmartArt工具”里的格式页提供了这些自定义的切入点。

Even after applying any of these customizations you can still go back and change to a different layout and SmartArt Graphics will attempt to bring those customizations forward. I recommend saving your customizations for the end but this gives you the flexibility to make sure that the graphic communicates what you want it to. Just in case you realize you have gone too far with customizations, there’s always the Reset Graphic button back on the Design tab to take you back to a happy place.
甚至在应用任何这些自定义设置之后,你仍然可以回到前面,更改为不同的布局,SmartArt图形将试图保留这些自定义设置。我建议保存你的自定义设置,这让你有了灵活性,确保图形表达你想要的东西。万一你发现你走得太远,总是有个重设图形按钮在设计页上带你回到愉快的地方。

SmartArt Graphics gives you the tools to quickly and effectively communicate your message with formatting options that ensure a professional and unique result.
SmartArt图形给你提供了工具,快速有效地用格式选项交流你的信息,确保专业而独特的结果。
Published Tuesday, May 16, 2006 8:44 AM by David Gainer
Filed Under: Integration With Word and PowerPoint, SmartArt
注:本文翻译自http://blogs.msdn.com/excel ,原文作者为David Gainer(a Microsoft employee),Excel Home 授权转载。严禁任何人以任何形式转载,违者必究。